While we were traveling down to Florida, we decided to have a little fun in the private Facebook group for our PLR membership customers. It morphed into a full step-by-step tutorial on how to rewrite a PLR article for your blog. This post is a reworked, expanded version of that original Facebook post.
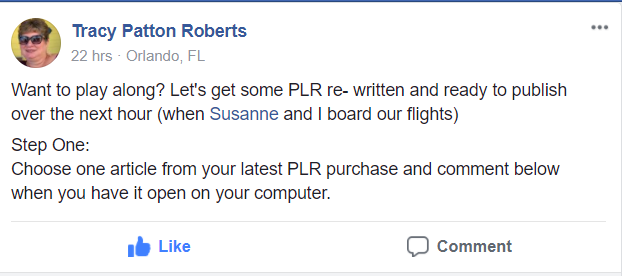
Here’s how it all started:
To get access to the Facebook group, join one of our membership sites. All get access to the private group.
- Self Help Content Membership
- Business Content Membership
- Mini Memberships (available for Health, Business, & Self-Help)
Let’s walk through the process. Play along and see if you can get it all done in an hour. If it takes you longer, that’s perfectly fine. Don’t fret over it. Everything takes longer and seems harder the first time we do it. If you get in the habit of creating blog posts from pre-written content regularly (think once a week or so), you’ll be able to get everything done in 20 minutes or so.
Step One:
Choose one article from your latest PLR purchase or something that has been sitting on your hard drive for a while. Don’t overthink this. Just grab something that looks interesting or like fun and go with it.
If you don’t have anything to work with yet, grab one of our free PLR bundles.
Step Two:
Brainstorm a super awesome title. A good title does two jobs. It attracts the attention of your ideal customers and it includes a key phrase you want to rank for. Use long tail keywords for blog post titles.
Step Three:
Rework the introduction if needed and give the whole article a light edit. Make sure to add your voice and use your market’s language. That’s what will make this content stand apart and shine. Make it your own and use it to draw more people into your funnel.
Here’s a video walk-through of an article edit. I started with a PLR article and tweaked it for our niche and purpose.
Step Four:
Add a Call To Action (CTA). What do you want them to do next?
Here are some ideas:
- Offer them a freebie (lead magnet) and invite them to join your list.
- Suggest a product. This can be one of your own or something you’re an affiliate for.
- Ask them to engage by leaving a comment or sharing the content on social media.
Step Five:
Pretty it up!
Add at least one image to your post and format as needed to make sure its easy to read and scan.
How much or how little formatting you do is up to you and will depend on your style and your audience. The most important part is that it’s easy to read and that your visitors can see at a glance what the post is about.
Step Six:
Publish Your Post!
Hit that publish button and then go look at your post. Does it look ok? If so you’re good.
Step Seven:
This is new and not something we mentioned in the original Facebook group post. Your last step is marketing your content. You need to let people know about your new blog post. Here are a few ideas to get you started. Feel free to add to that list or work on what gives you the best results.
- Share the blog post on social media and ask your audience to share as well.
- Reshare the post multiple times throughout the year. We really like Missing Lettr these days for doing this. It shares across multiple platforms and there’s a good chance you’re reading this because of one of those campaigns.
- Email your list about it. You can create a new solo email about your blog post, or mention it in one of your next mailings.
- Find a couple of related blog posts that are getting traffic and link to this new post.
- Create some video content that relates to your blog post. Add a link to your post in the video description.
How it’s your turn. Grab that blog post, get it published, and get a step closer to reaching your content marketing goals.
Last but not least, we’d like to invite you to check out all the awesome PLR packs we have to offer here at www.PiggyMakesBank.com